

Have you peeked into your attic or crawl space lately and noticed sagging fiberglass, uneven coverage, or a musty smell that reminds you something isn’t right? If so, you’re not alone.
Many homeowners wonder why their energy bills keep climbing even though they “already have insulation.”
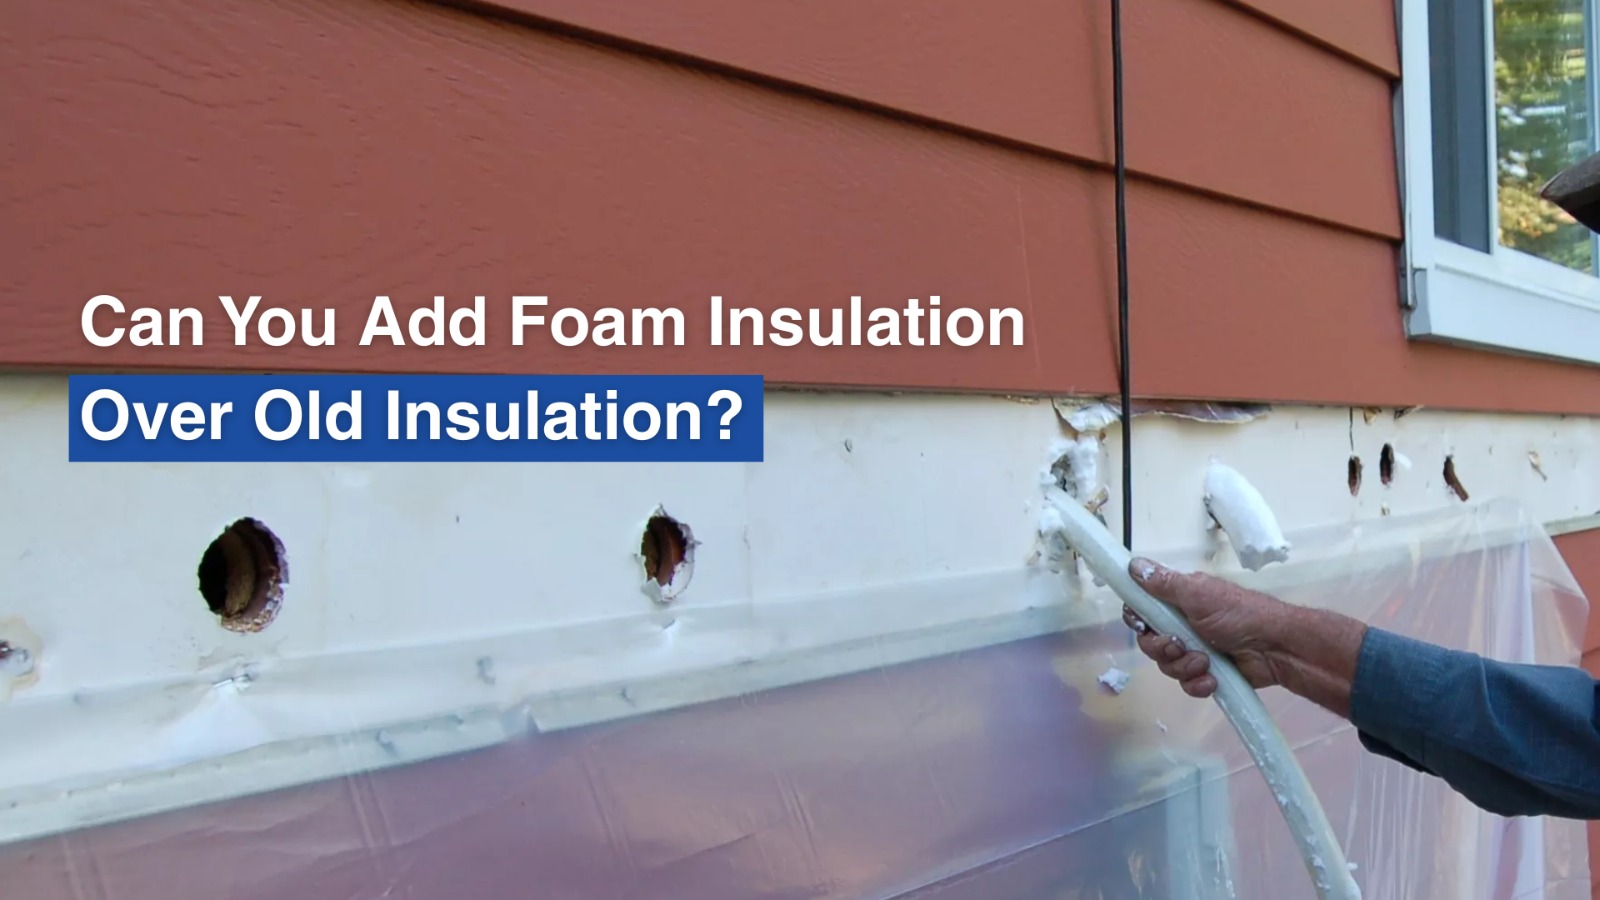
So the big question becomes, can you add foam insulation over old insulation to make things better?
The short answer is yes, only under the right circumstances. When done properly, it can transform how comfortable and efficient your home feels. When done incorrectly, though, it can trap moisture, damage materials, and waste your investment.
Why Old Insulation Fails Over Time
Before talking about upgrades, it helps to understand why the insulation you already have might not be doing its job anymore. Many older homes rely on fiberglass or cellulose, both of which have their limits.
Old fiberglass insulation issues are common. Over time, fiberglass can sag, compress, or lose its loft. That means it stops trapping air efficiently, reducing its ability to resist heat flow. It can also absorb moisture if there are roof leaks or condensation problems, leading to mildew, odor, or even mold. Cellulose, on the other hand, tends to settle and lose thickness, leaving gaps and cold spots.
Rodents and pests love nesting in traditional insulation, creating contaminated pockets that make the air dusty or unhealthy. Combine that with air leaks around vents, chimneys, or attic hatches, and you’ve got a setup where warm air escapes in winter and seeps in during summer.
This is why so many homeowners consider foam insulation upgrade existing insulation options, because foam provides both insulation and an air seal, something fiberglass alone can’t achieve.
Injection Foam Over Existing Insulation
If you’re dealing with finished walls that you can’t easily open, injection foam over existing insulation might be your best route.
Instead of spraying from the surface, injection foam is pumped into wall cavities through small holes drilled between studs. It expands to fill gaps and compresses or surrounds the existing insulation.
This process is popular for older homes that were built before modern insulation codes. The foam can move around electrical wiring, old fiberglass batts, or even loose-fill insulation, tightening the structure’s thermal envelope.
What About Adding Foam Insulation Over Fiberglass in an Attic?
A common question homeowners ask is whether you can spray foam right over those pink fiberglass batts in the attic. Technically, yes, you can, but there’s more to it.
The biggest issue isn’t chemical incompatibility; it’s performance and moisture. Fiberglass tends to trap moisture from air leaks. If you spray foam directly over damp fiberglass, the foam layer will seal that moisture in, leading to possible rot or mold underneath.
So before adding foam insulation over fiberglass, the existing batts should be inspected for dampness and contamination. If they’re dry and secure, the foam can be sprayed carefully over or above them, especially if the goal is to air seal the attic floor.
In most cases, though, professionals prefer to remove old fiberglass first, vacuum the space clean, and then apply foam directly to the rafters or subfloor. This approach creates an uninterrupted air barrier and avoids the hidden moisture problem altogether.
Can Injection Foam Go Over Old Insulation in Walls?
For wall retrofits, yes, it’s possible to install injection foam over old insulation, but the installer must verify the wall’s internal condition first. Injection foam is designed to fill every small gap that fiberglass or cellulose often misses, but if the cavity is obstructed or compacted, the foam may not spread evenly.
In older homes, plaster or lath walls can also create air pockets or uneven voids that complicate injection. That’s why professionals use thermal imaging or small test holes to evaluate how well the foam will move inside the wall before proceeding.
The main takeaway is that adding foam without first inspecting what’s behind the wall can lead to uneven coverage or wasted material.
Choosing Between Closed-Cell vs Open-Cell Spray Foam
One of the most important choices you’ll make is whether to use closed-cell or open-cell spray foam. Both can work in certain scenarios, but they behave differently.
Closed-cell spray foam is dense, rigid, and highly moisture-resistant. It acts as both insulation and a partial vapor barrier, making it ideal for damp areas, basements, or external walls. Because of its strength, it can even add structural stability to surfaces. Closed-cell also has a higher R-value per inch, meaning you can achieve better insulation with less thickness.
Open-cell spray foam is lighter and more flexible. It’s less expensive and expands more dramatically, allowing it to fill awkward or irregular spaces easily. However, it doesn’t block moisture as effectively, which means it shouldn’t be used where condensation is a risk.
A professional insulation installer will evaluate your home’s structure, climate zone, and goals to recommend the ideal foam type.
The Role of a Moisture Barrier in Insulation
Whenever you add foam to an existing layer, moisture management becomes crucial. A moisture barrier in insulation is what prevents condensation from forming where warm indoor air meets cool exterior surfaces.
If you add closed-cell foam on top of insulation that already acts as a vapor retarder, you could trap moisture inside the wall. On the other hand, if you have open-cell foam without a vapor barrier in a humid climate, you might allow too much moisture migration.
Steps to Ensure a Successful Foam Upgrade
If you’re planning a foam insulation upgrade to existing insulation, follow these essential steps before starting:
- Check for dampness, mold, or pest issues. If you see any, have them corrected before proceeding.
- Look for unsealed gaps, vent leaks, or penetrations around light fixtures. These should be sealed before foam application.
- Choose between open-cell and closed-cell based on location and moisture exposure.
- Clear debris, remove damaged insulation, and make sure surfaces are clean.
- Foam must be mixed and applied under precise conditions. Mistakes can lead to cracking, poor adhesion, or chemical odor issues.
- Many regions have rules on vapor barriers, attic ventilation, and fire-rated coatings for foam insulation.
Benefits of Upgrading with Foam
When done correctly, layering foam provides long-term benefits:
- Foam seals air leaks, reducing heat loss and lowering energy bills.
- No more cold drafts or hot spots. Rooms maintain a consistent temperature year-round.
- Injection foam in walls dampens outdoor noise, making your home quieter.
- Properly applied foam reduces condensation risks and helps maintain healthy humidity levels.
- Foam doesn’t sag or settle like fiberglass, meaning you won’t need to re-insulate for decades.
Final Thoughts
For some spaces, like dry walls or stable attics, layering foam can be a smart, cost-effective upgrade. For others, especially those with damp or deteriorating insulation, removal and a fresh start may be best.
The good news is that you don’t have to guess. A professional insulation contractor can evaluate your space and help you choose the safest, most efficient solution.
Schedule your consultation with WeatherFoam now and make your home more efficient, comfortable, and hassle-free.